Categories
Figma

Building an Impressive Portfolio: Tips and Tools with Figma

Building an impressive portfolio: Tips and Tools with Figma

In today’s competitive job market, having a strong portfolio is essential for designers and creative professionals. Your portfolio is your calling card, showcasing your skills, creativity, and the unique value you bring to potential employers or clients. In this guide, we’ll explore the key elements of a standout portfolio and how Figma can be your secret weapon in crafting one that truly shines.

Why a great portfolio matters

A portfolio is more than just a collection of your work—it’s a visual resume that tells your story as a designer. It’s your chance to make a first impression and demonstrate your ability to solve problems, think creatively, and produce high-quality work. Whether you’re a seasoned professional or just starting out, a well-crafted portfolio can open doors to new opportunities and help you stand out in a crowded field.

Key elements of a strong portfolio

  1. Showcase your best work: Quality over quantity is crucial. Select pieces that highlight your strongest skills and most impressive projects. Each piece should serve a purpose and demonstrate a particular aspect of your talent.
  2. Tell a story: Each project should have a narrative. Explain the problem you were trying to solve, your thought process, the steps you took, and the final outcome. This not only shows your technical skills but also your ability to think critically and creatively.

  3. Diverse skill set: Include a variety of work to show your versatility. If you’re skilled in multiple areas, such as UI/UX design, branding, and illustration, make sure your portfolio reflects this diversity.
  4. Keep it updated: Regularly update your portfolio with your latest work. This shows that you are active in your field and continuously improving your skills.
  5. User-Friendly design: Your portfolio itself should be an example of good design. Ensure it’s easy to navigate, visually appealing, and accessible.

Why use Figma for your portfolio?

Figma is a powerful, collaborative design tool that’s perfect for creating professional portfolios. Here are some reasons why Figma stands out:

  1. Real-Time collaboration: Figma allows for seamless collaboration with team members or clients, making it easy to gather feedback and make improvements.

  2. Versatile and powerful: From wireframing to high-fidelity designs, Figma handles all stages of the design process. Its robust feature set ensures you can bring your most creative ideas to life.

  3. Cloud-Based: Your work is always backed up and accessible from anywhere, making it easy to work on your portfolio whenever inspiration strikes.

  4. Community and resources: Figma has a vibrant community and a wealth of resources, including plugins, templates, and tutorials, to help you create a stunning portfolio.

Steps to create your portfolio with Figma

  1. Plan your layout: Start by sketching out the structure of your portfolio. Consider how you want to present your work and the flow of information.
  2. Design your pages: Use Figma to create clean, visually appealing pages. Make use of grids and guides to ensure a consistent and professional look.
  3. Add your projects: Import your best work and arrange it in a way that tells a story. Include case studies that explain your design process and the impact of your work.
  4. Interactive elements: Take advantage of Figma’s prototyping features to add interactive elements to your portfolio. This can make your portfolio more engaging and showcase your ability to design interactive experiences.
  5. Feedback and refinement: Share your portfolio with peers or mentors to get feedback. Use Figma’s collaboration features to make real-time edits and improvements.

If you’re excited about the potential of creating a stunning portfolio with Figma but don’t know where to start, we have just the thing for you. Our Figma Bootcamp is designed to help you master the basics of Figma and create a professional portfolio that stands out.

In our comprehensive bootcamp, you will:

  • Learn the essential features of Figma and how to use them effectively.
  • Get hands-on experience with real-world projects.
  • Receive guidance from industry experts.
  • Connect with a community of  designers.

Ready to take your portfolio to the next level? Join us at our Figma Bootcamp and start building a portfolio that opens doors to new opportunities! 

Categories
Figma

The art of typography: A practical guide to choosing the right fonts

The art of typography: A practical guide to choosing the right fonts

In the vast landscape of design, typography is much more than just an aesthetic choice. It is the visual language that communicates with the viewer, expressing not only the message, but also the emotion and personality of a brand.

Before diving into the font selection process, it’s essential to understand the basic principles of typography. Typography encompasses elements such as type size, spacing, weight and style, and each of these elements can have a significant impact on the legibility and aesthetics of a design. In this practical guide, we’ll look at the fundamentals of typography and give you tips on choosing the right fonts for your projects.

1. Knowing Font Categories

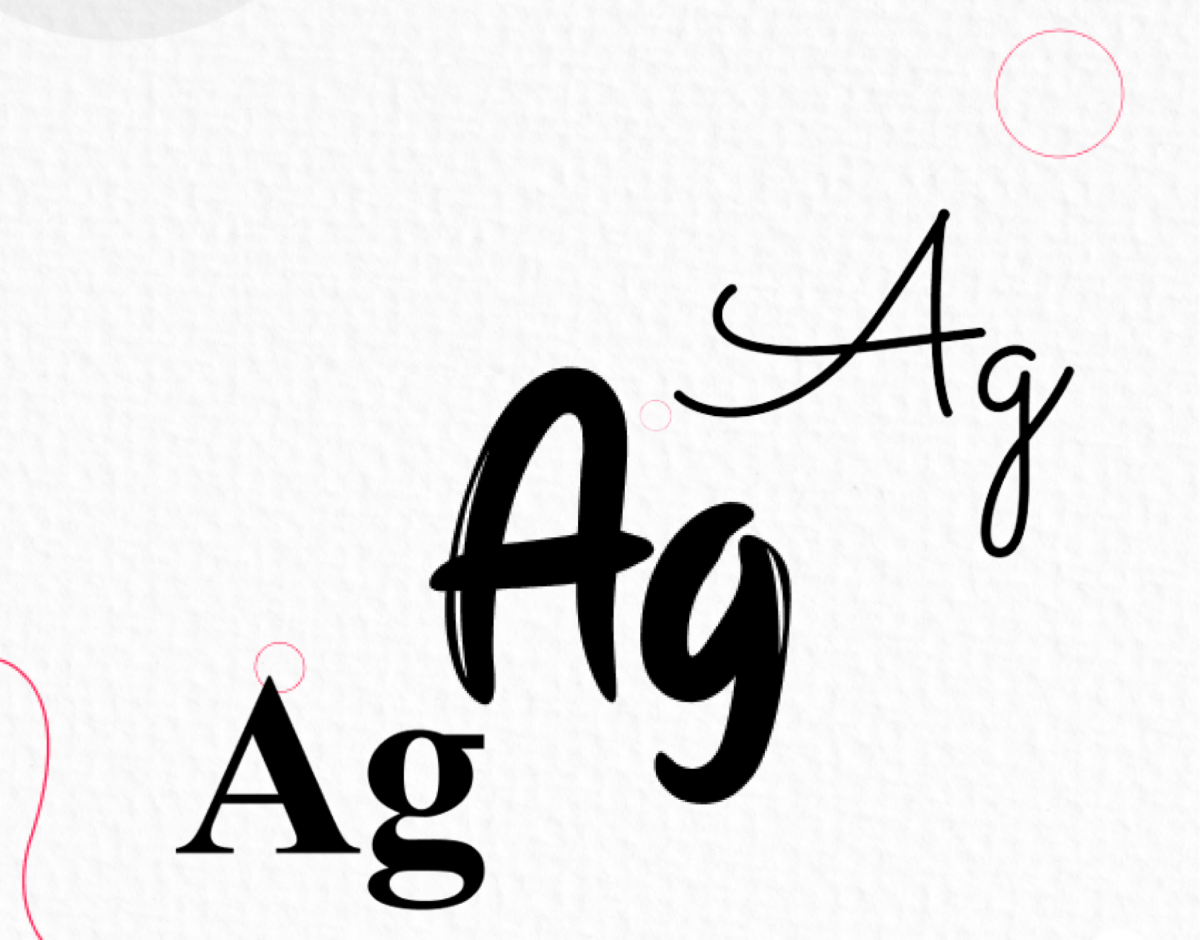
There are different categories of typefaces, including serif, sans-serif, script, decorative, and monospaced fonts. Each category has its own aesthetic and functional characteristics, so it’s important to choose the one that best suits your project.

Serif Fonts

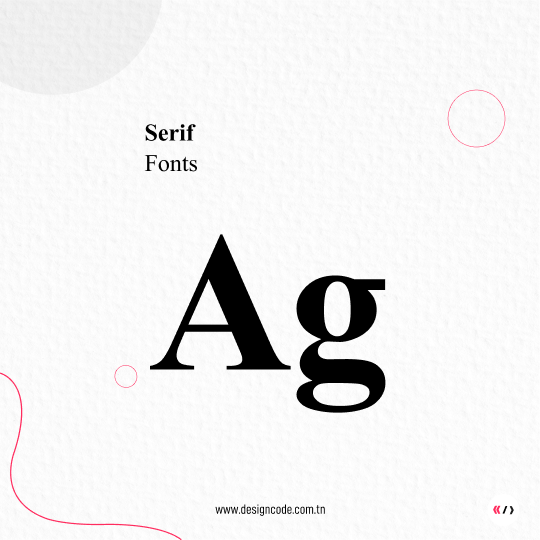
Serif fonts, with their distinctive small strokes at the ends of characters, are commonly perceived as classic and elegant, making them a traditional choice for body text in print media. Their association with tradition, elegance, and reliability makes them popular among lawyers, legal firms, and financial institutions, sectors where these values are often prized. Additionally, serif fonts offer optimal readability for long blocks of text, making them ideal for books, magazines, and publications, where text clarity is essential, particularly in the publishing and press sectors.

Sans-serif Fonts

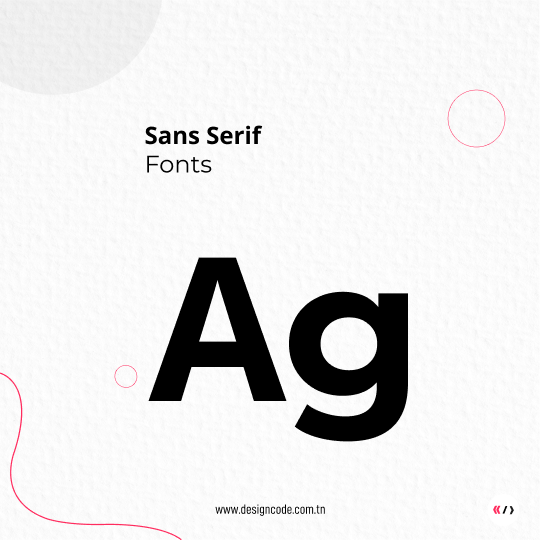
Sans-serif fonts have a modern and clean appearance, lacking the small strokes (serifs) at the ends of characters, making them ideal for use on digital screens as well as for headlines. They are particularly well-suited for technology and innovation-oriented businesses, where their contemporary look aligns perfectly with the image of these constantly evolving sectors. Similarly, in the fields of design, fashion, and creativity, sans-serif fonts bring a touch of modernity and style highly appreciated, making them popular for brands and artistic and creative projects.

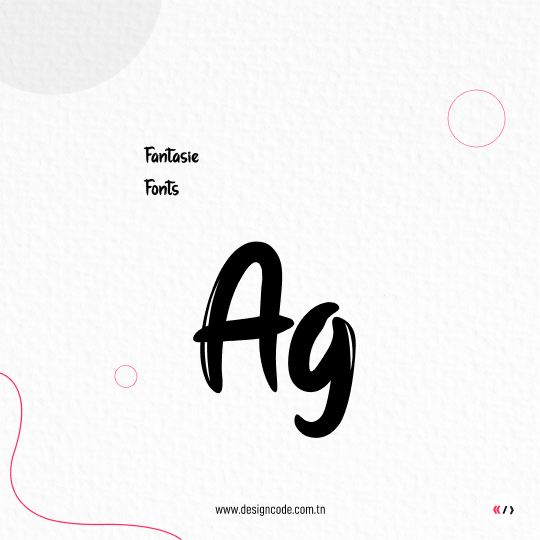
Script Fonts

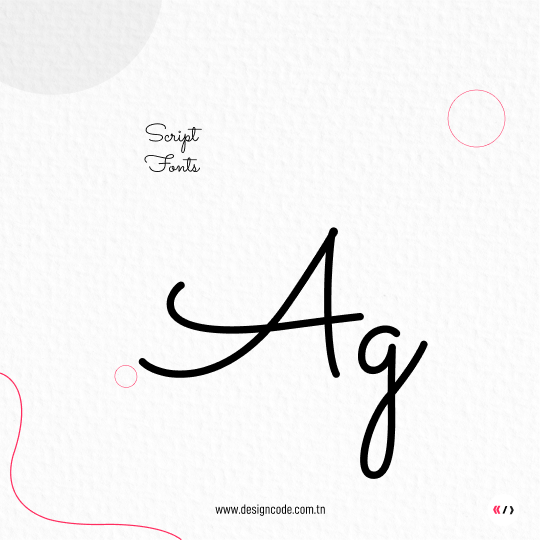
Script fonts mimic elegant handwriting, making them a romantic and sophisticated choice for invitations and special events such as weddings. Their touch of personality and elegance also makes them perfect for the beauty, fashion, and luxury sectors, where they are often used for decorative elements or logos, adding a dimension of refinement and distinction to upscale brands.

Decorative Fonts

Decorative fonts feature unique and creative styles, typically reserved for specific and expressive uses. Their playful and creative nature makes them ideal for brands targeting a young and dynamic audience, especially in the fields of children’s products, entertainment, and creativity. Additionally, they bring a festive and joyful atmosphere, making them perfect for events, parties, and celebrations, adding a touch of excitement and liveliness to these special occasions.

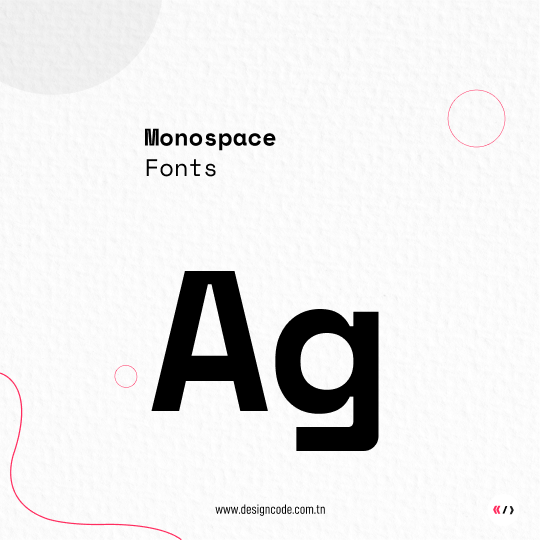
Monospaced Fonts

Monospaced fonts are characterized by fixed-width characters, making them ideal for displaying computer code or structured elements requiring precise presentation. Their common use in the field of computing and web development makes them a preferred choice for businesses and professionals in these sectors, where readability and clarity of code are essential for effective communication of technical information.

.

2. Harmonizing Fonts

When choosing fonts for a project, it’s essential to ensure they harmonize well together. Avoid mixing too many different fonts to avoid visually overloading your design. Prioritize one font for headlines and another for body text, ensuring they complement each other.

3. Ensuring Readability

Readability is a crucial aspect of typography. Make sure to choose fonts that are easy to read, especially for long blocks of text. Avoid overly decorative fonts for body text and prioritize fonts with good contrast between characters and the background..

4. Adapting Fonts to the Context

Consider the audience and the context in which your fonts will be used. If your project targets a professional audience, opt for simple and professional fonts. For an artistic or creative project, you can afford more original and expressive fonts.

In conclusion, the appropriate choice of fonts is crucial in building an effective brand identity. At DesignCode, we fully recognize the significant impact typography can have on the perception of a brand. We are committed to guiding our clients towards typographic choices that not only reflect their distinctive essence but also captivate the attention of their target audience. By consistently striving to provide highly personalized design advice and solutions, we aim to help our clients create strong, memorable, and authentic brands that stand out in a competitive landscape.


Categories
Figma

A complete guide to enhancing the user experience on your website

A complete guide to enhancing the user experience on your website

When it comes to the success of your website, User Experience (UX) is one of the critical keys. An excellent user experience can turn casual visitors into loyal customers while ensuring your site remains competitive in the ever-evolving web market. In this article, we will delve into the key elements to improve user experience on your website.

1. First Impressions Matter

When a visitor lands on your site, the first impression is crucial. Ensure your homepage is attractive, with a clean and professional design. Use high-quality images, clear layout, and colors that reflect your brand. Intuitive navigation and easily accessible information are also essential.

2. Optimize Loading Speed

Nothing discourages visitors more than a slow-loading website. Studies show that users typically wait only a few seconds before leaving a slow site. Optimize your images, use caching, and ensure your web hosting is performance-oriented to guarantee a smooth browsing experience.

3. Intuitive Navigation

Navigation on your site should be straightforward and intuitive. Use a logical menu structure, relevant internal links, and an effective search engine to help visitors quickly find what they’re looking for.

4. Make Your Site Mobile-Friendly

With the increasing use of smartphones, it’s imperative that your site is mobile-friendly. A responsive website automatically adjusts to screen size, ensuring a consistent user experience across different devices.

5. Quality Content

Your site’s content should be informative, engaging, and relevant to your target audience. Use clear headlines, short paragraphs, and visuals to make reading easy and enjoyable. Ensure your content is up-to-date and accurate.

6. Compelling Calls to Action (CTAs)

Use well-designed CTAs to guide visitors toward the actions you want them to take, whether it’s signing up for a newsletter, making a purchase, or requesting a quote. Clearly visible and attractive CTAs can significantly boost conversions.

7. Security and Privacy

Security is paramount. Visitors should feel safe while browsing your site. Use an SSL certificate for data encryption, ensure your privacy policies are clear and upheld, and protect against potential threats.

8. Feedback and Support

Provide easy ways for users to give you feedback. Contact forms, live chat, or discussion forums can be useful for collecting insights. Additionally, ensure responsive support for user questions or issues.

9. Test and Improve

User experience optimization is an ongoing process. Use analytics tools to track user behavior, conduct usability testing, and consider user feedback to make constant improvements to your site.

En conclusion, an exceptional user experience is a significant asset to your website’s success. As we continuously work to enhance the user experience, Designcode’s team follows a well-crafted process designed to ensure great results that make customers’ lives easier. If you’re interested in understanding how this process can benefit your own endeavors, feel free to check out our website to learn more about what we do, our methodology, and the solutions we offer. Invest time and resources into implementing these tips and ensure your site offers a memorable, engaging, and user-friendly experience to visitors. This will help in retaining your audience and enhancing your online reputation, which is crucial in today’s digital landscape.

Categories
Figma

Must-Know Figma Plugins to Optimize Your Workflow

Must-Know Figma Plugins to Optimize Your Workflow

Have you heard of Figma? It’s the most popular UI design tool for designers around the world. It allows you to create designs for all kinds of web, mobile and even desktop applications in a totally collaborative and super intuitive way. And the best part is its community of plugin developers! They’ve created extensions that add a ton of useful features and tools to improve the user experience and save time. Figma is truly the crème de la crème for designers looking for creativity and productivity!

Let’s go and discover the most popular and useful plugins of Figma! In this article, we’ll explore the most popular features that will enable you to become a real expert in user interface design.

1. Plugins to Enhance Your Photos on Figma

Photos are an essential element of user interface design, whether it’s for websites, mobile applications, or other types of interfaces. However, editing and optimizing photos can be tedious and time-consuming, even for the most experienced designers. That’s where Figma plugins come into play! With these handy and efficient tools, designers can easily find photos, enhance their images, add filters, crop, and adjust colors in just a few clicks. In this part of our article, we will explore the best Figma plugins for photo editing, to help you optimize your workflow and create stunning designs in no time

  • Unsplash

The Unsplash plugin is a must-have for designers looking to add quality images to their designs. With this plugin, you can easily search and insert high-resolution photos from the famous Unsplash platform without even leaving Figma. Just type in a few keywords to find the perfect photo, then drag and drop it into your design. No more searching for images on different sites or wasting time editing them to fit your design. With Unsplash, you have access to a vast library of professional-quality, and copyright-free images to bring your designs to life in a flash.

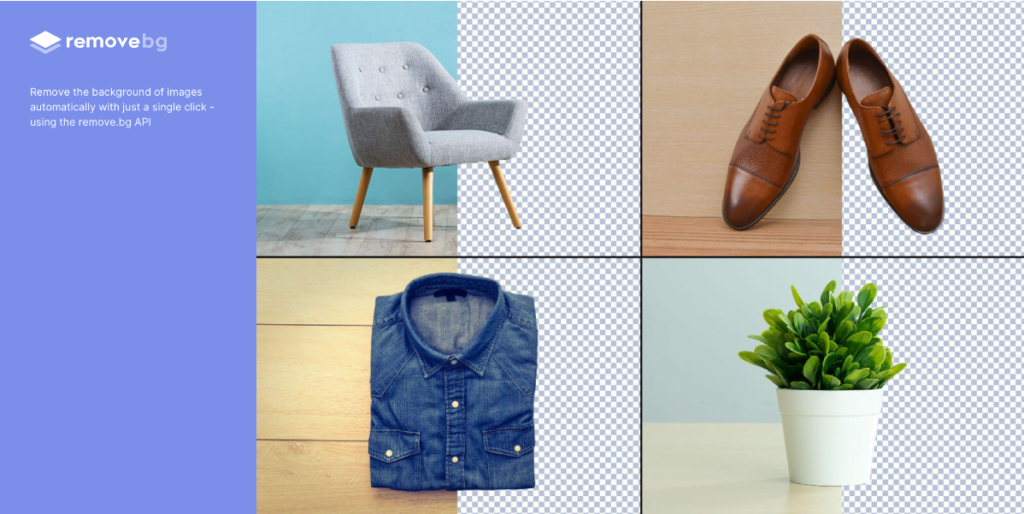
  • Remove BG 

The Remove BG plugin is a must-have tool for designers looking to create clean and professional designs on Figma. With this plugin, you can remove the background of images with just a few clicks to create background-free montages or compositions. This allows you to create cleaner and more elegant designs in a short time. Whether you’re looking to create visuals for websites, mobile apps or other media, Remove BG is the perfect tool for creating clean, aesthetically pleasing designs. By removing unnecessary backgrounds, you can highlight the important elements of your design and create impactful visuals that catch the attention of your target audience.

2. Plugins to Create Engaging and Personalized Content on Figma

Creating engaging and personalized content is key to capturing the attention of your target audience and getting them to engage with your designs. However, this can be a challenge, especially if you have to create many designs in a short amount of time. Fortunately, Figma offers a variety of plugins that can help you create attractive and personalized content in no time.

In this part of the article, we’ll introduce you to some of the best Figma plugins for content creation. Whether you are a beginner or an experienced designer, these tools will help you create professional, attractive and personalized designs.

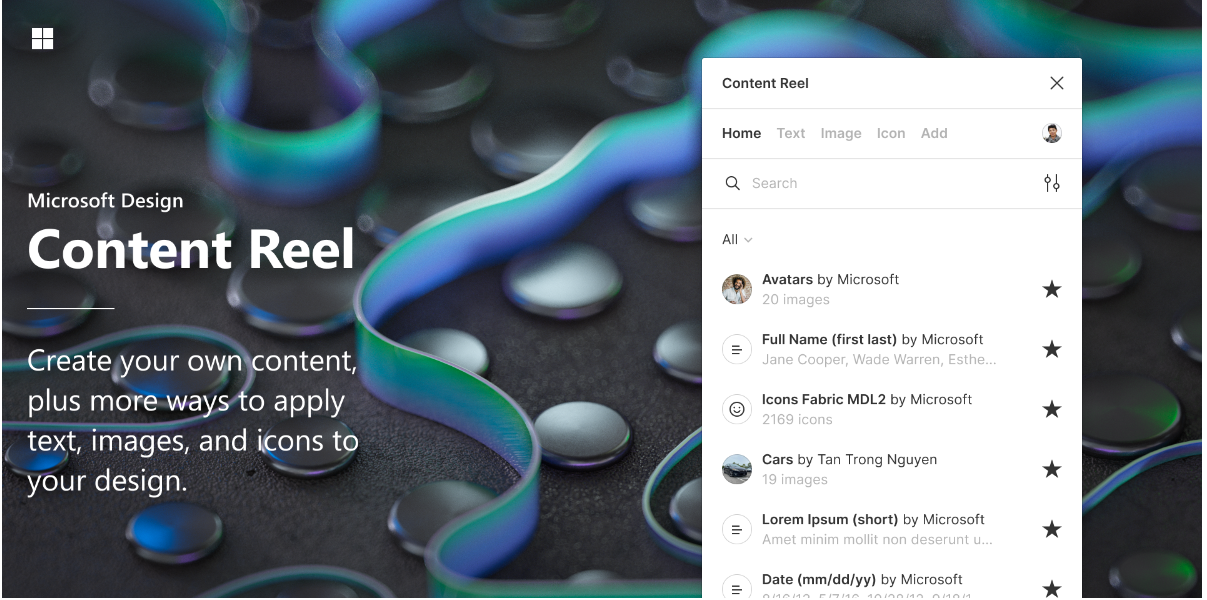
  • Content Reel

The Content Reel plugin for Figma is a practical tool for quickly adding images and icons to your designs. With this plugin, you can access a library of images, icons and other visual elements for your designs. Simply drag and drop the elements into your Figma workspace to easily integrate them into your design. Whether you’re creating designs for websites, mobile apps, or other media, this plugin can help you easily add visual elements for an engaging and personalized design.


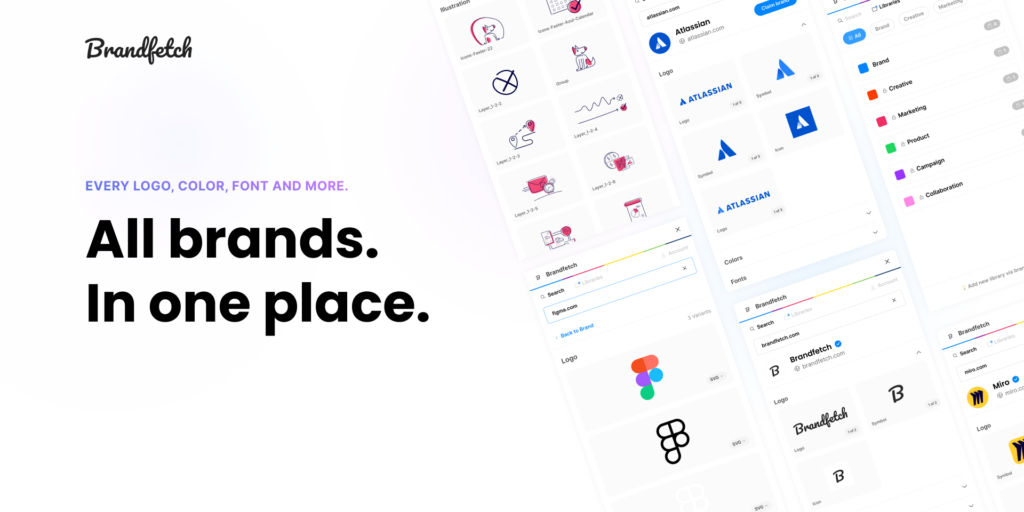
  • Brand Fetch 

Brand Fetch plugin is a very useful tool for designers working on branding projects. It allows you to easily search and retrieve logos, colors and fonts of popular brands. This saves you time and allows you to focus on creating designs using the correct and consistent brand elements. Brand Fetch is also very easy to use and allows you to quickly search for the brands you need.

3. Figma Plugins for Easy Text Content Generation

Creating text content is often a time-consuming task for designers. Fortunately, Figma offers a range of plugins to easily generate fill-in text. Whether you need a few sentences to fill in a design or several paragraphs to simulate actual content, these plugins can save you valuable time in your design process. In this part of the article, we will explore some of the most useful plugins for generating text content on Figma.

  • Lorem Ipsum Generator :

This plugin allows you to generate Lorem Ipsum text, often used as placeholder text in designs. You can specify the length of the text and the number of paragraphs to generate. Once the text is generated, you can copy and paste it directly into your design.

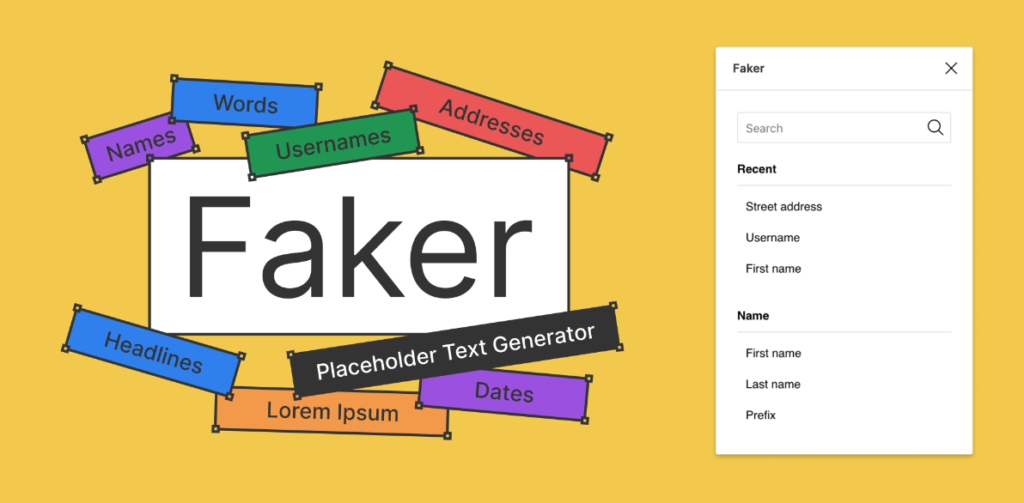
  • Faker :

Faker is a Figma plugin that allows you to generate random and custom text content for your designs. This plugin is very useful for designers who need to quickly populate mockups with test content or dummy data. With Faker, you can generate names, addresses, dates, phone numbers and more. You can also customize generation parameters such as text length, data type and language. Faker is a handy tool that can save you time in creating layouts and ease the process of presenting your designs to your clients.

4. Best Icons Plugins on Figma

Icons are essential elements of any user interface design. Fortunately, Figma has an extensive icon library, as well as a community of plugin developers who have created extensions to help designers customize and improve their workflow when working with icons. In this section, we’ll introduce you to some of the most useful plugins for working with icons in Figma, whether it’s searching for specific icons, customizing them to your needs, or organizing them efficiently.

  • Iconify : 

Iconify is a Figma plugin that allows designers to easily find and add icons to their projects. With over 100,000 free icons available in Iconify’s library, this plugin offers a wide variety of options to meet the needs of every project. Simply type the name of the icon you’re looking for into the search bar, choose the icon you want, and drag it directly onto the design. In addition, the Iconify plugin offers the ability to customize the size, color and other attributes of each icon to perfectly fit the design being created.

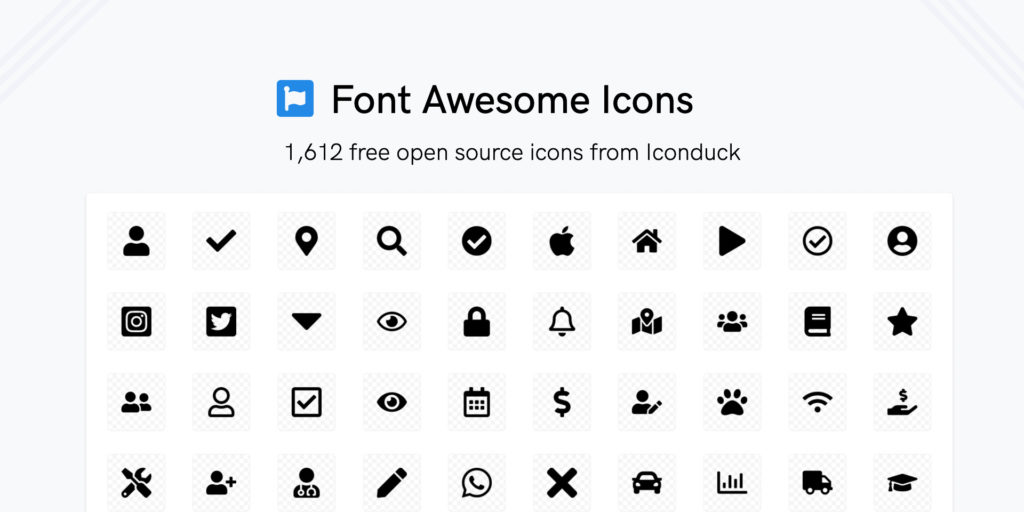
  • Font Awesome :

The Font Awesome plugin is a handy icon design tool for designers working on Figma. It makes it easy to add vector icons and symbols to your designs, directly from the Font Awesome library. With over 7,000 different icons available, it’s easy to find the perfect icon for your project, whether it’s a website, mobile app or any other design project. The plugin is also very intuitive, offering features such as icon search, the ability to choose the size and color of the icon, as well as the ability to organize them into libraries for easy access. If you’re looking for a simple and effective way to add professional icons to your Figma designs, Font Awesome is a must-have choice.

5. Figma Plugins for Smooth Animations 

Animations bring your designs to life by creating smooth movements and transitions between different elements. Figma animation plugins allow you to create complex and elegant animations for interactive prototypes, presentations or videos. In this part of the article, we present you the best Figma plugins for smooth animations of your designs.

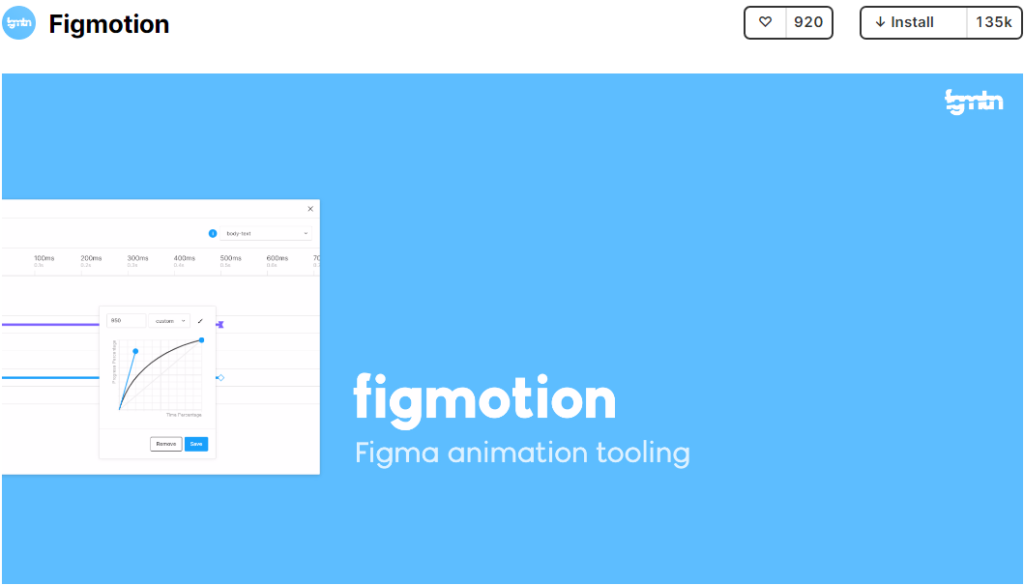
  • Figmotion

Figma Figmotion plugin is a powerful animation tool to bring your static designs to life. It offers a variety of features to create smooth animations such as transition animations, morphing effects and scrolling animations. Figmotion is easy to use, even for beginners, thanks to its user-friendly interface and quick learning curve. With this plugin, you can quickly turn your designs into interactive animations for a more dynamic and professional result.

  • SVG Animate

SVG animate is a plugin for Figma that allows you to create SVG animations with effects such as color changes, transformations and deformations. With this plugin you can import existing SVG files or create new drawings directly in Figma. SVG animate also gives you the ability to customize animation options such as duration, softening and repetition to create smooth and dynamic animations. This plugin is ideal for designers who want to add sophisticated animations to their SVG designs without having to use third-party software or code the animations themselves.

Conclusion

In summary, Figma offers a wide variety of plugins that can help you improve your workflow and create more effective and engaging designs. In this article, we have presented a selection of plugins in different categories, including icon plugins, photo editing plugins, and animation plugins. These tools can save you time and allow you to explore new design possibilities. Do not hesitate to explore these plugins to find the ones that best suit your needs and design style.